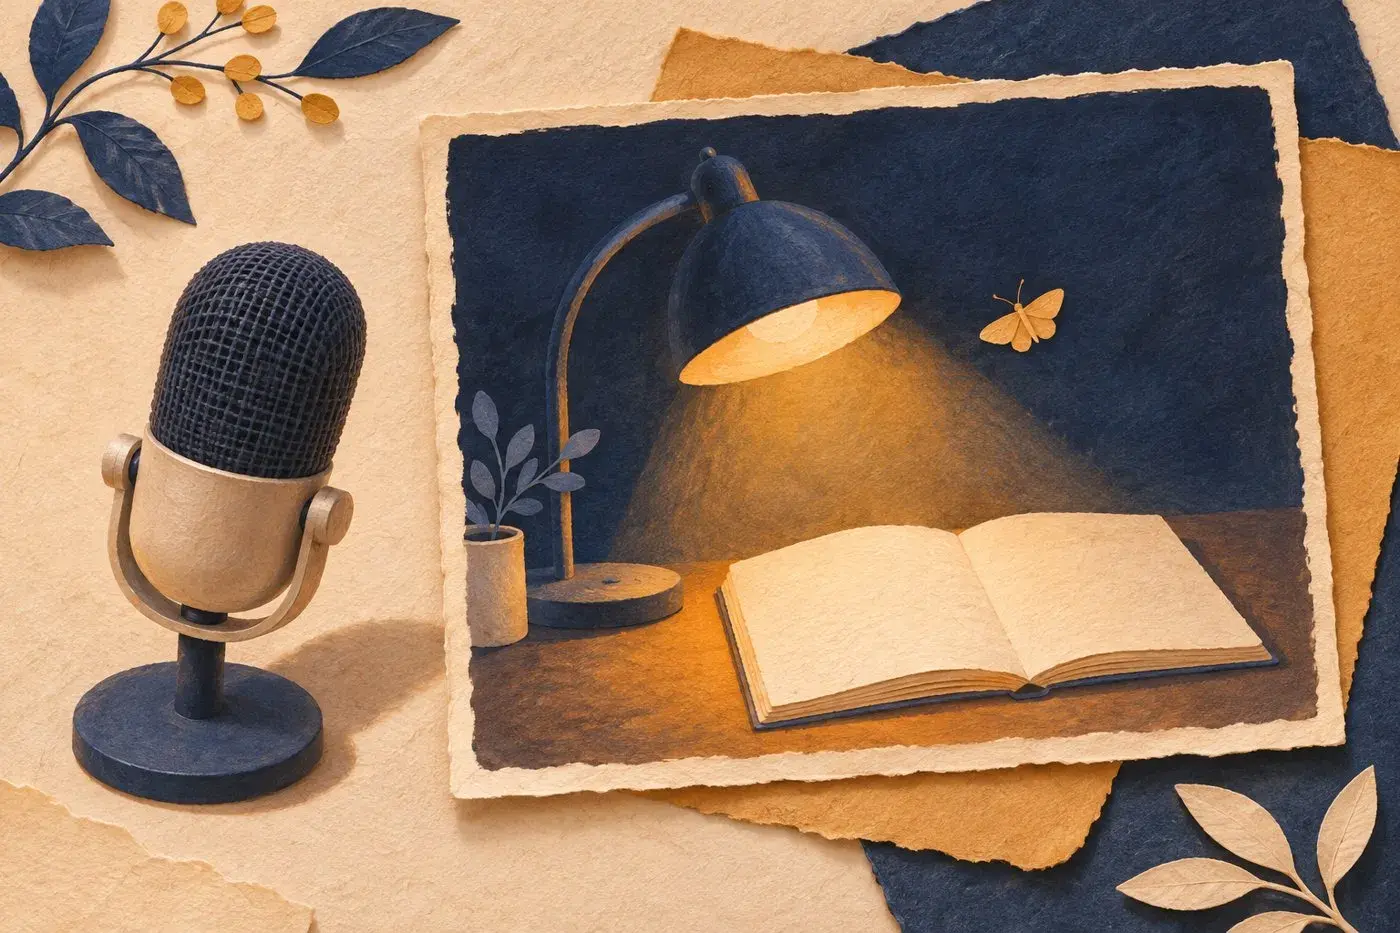
You have the recording: a short reading, a few lines of your own writing, perhaps a note you want to share. The words and voice are ready. You would just rather leave your face out of the picture.
Give the recording a small visual stage instead. A quiet illustration with one tiny movement can accompany the voice, followed by still sections for as long as the words need. The finished video is assembled in an editor; the short generated visual is only one ingredient.
The lamp-and-paper-moth artwork and duration diagram here are original teaching examples. No one is claimed to have recorded the sample text, generated its motion or exported a finished video.
Start with the recording you own
Use a recording and text you have permission to share. Listen once, trim anything you do not want in the final piece, and note the recording’s actual duration. Let that duration set the length of your video.
If you want a small original passage to record yourself, you can adapt this:
The house has gone quiet. On the desk, one light is still on. I’ll leave this page here and come back to it tomorrow.
There is no fixed reading time for those words. Record them in your own pace and use the resulting file’s length. If your existing recording says something else, choose an image that belongs with those words instead.
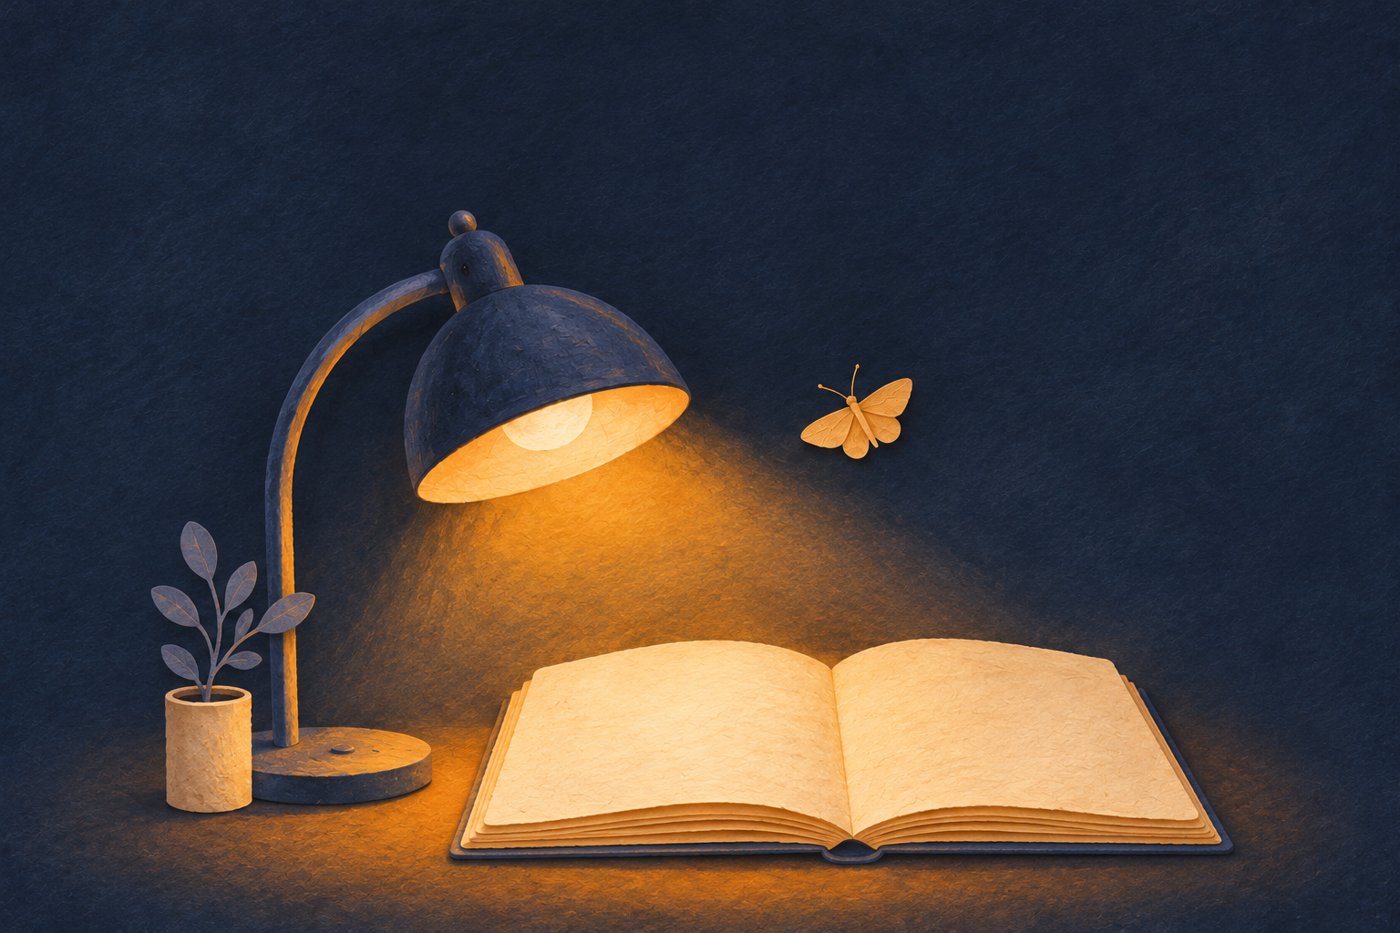
A quiet visual stage for a reading. The scene is original teaching artwork, not a completed video or recording session.
For the example passage, the visual is a lamp above a blank notebook. A tiny paper moth supplies the movement. There is no talking character to synchronise, and the page stays blank so the title can be added separately.
Prepare a beginning and an ending picture
Make two clean, separate images from original or permitted artwork. Keep the lamp, notebook, plant, lighting and camera the same. In the ending picture, move only the small moth a short distance right, keeping its size and shape consistent.
Choose one supported composition—16:9, 9:16 or 1:1—and prepare both input files to match it. Keep essential objects away from the edges and leave somewhere quiet for a title. Keep an unlabelled still version too; you will use it to cover some of the recording’s duration.
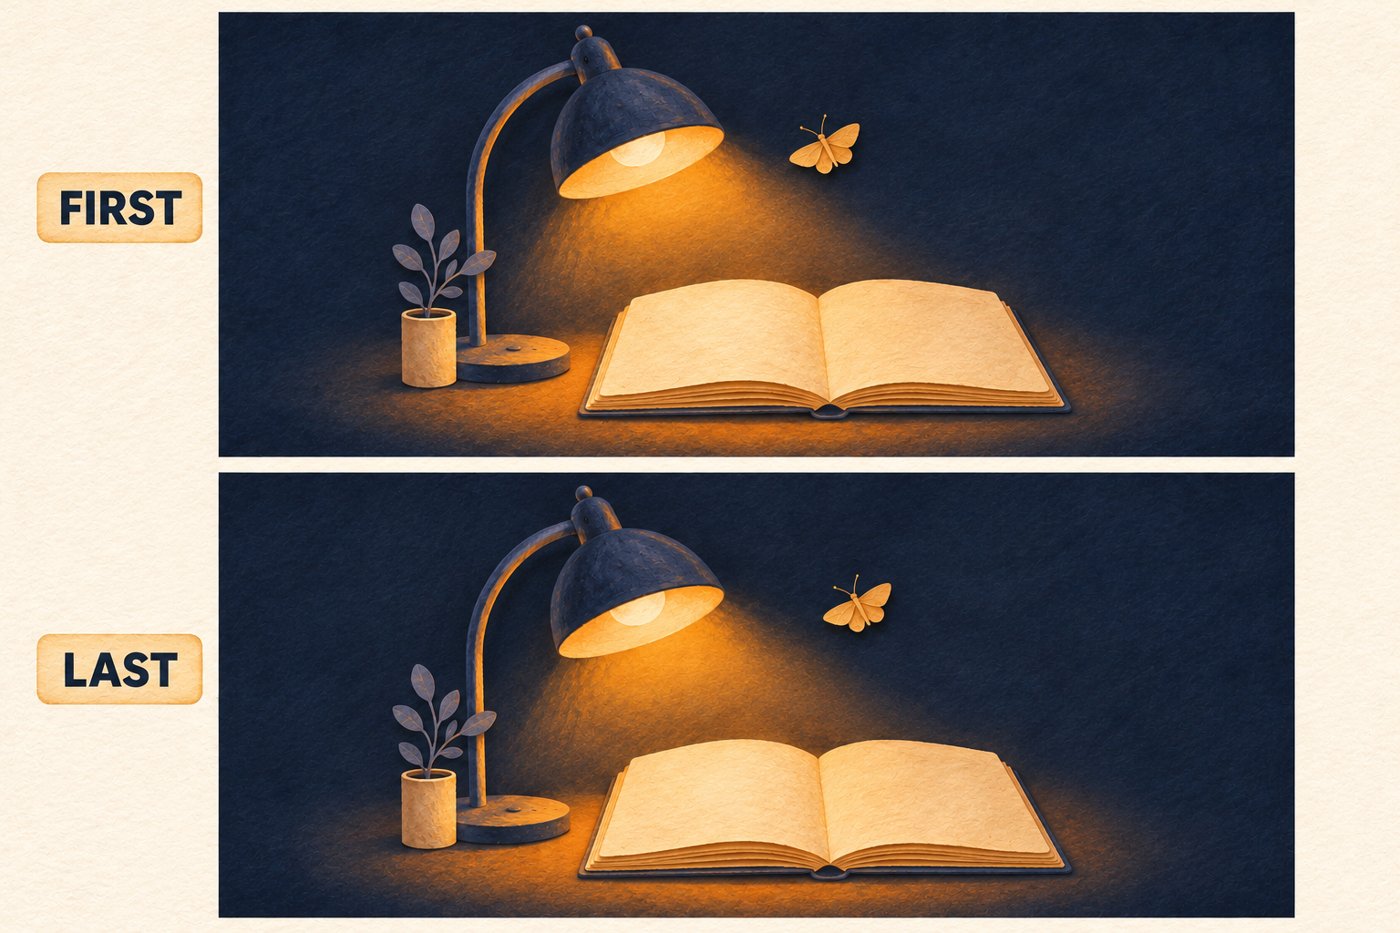
Prepare two separate compatible inputs. This endpoint board explains the movement; it is not the file to upload.
The comparison board illustrates the plan. Upload the individual first and last pictures, without the board, headings or annotations.
Generate and save the short visual
Tool suggestion: OpenMaker is one option for the optional animation in this example.
At OpenMaker, upload the first image and then the last, choose the ratio and describe the movement. The free form advertises five-second, 480p clips with zero credits and no signup required. OpenMaker also names a free workflow powered by MiniMax H3 and advertises unlimited generations. Those are published service descriptions, not test results from this example.
Keep prompts small enough that the picture can remain a background for the voice:
The tiny ochre paper moth drifts slowly a short distance right, from the supplied first position to the supplied last position. Keep the lamp, blank notebook, plant, lighting and camera fixed. Preserve the paper textures and moth shape. No page turning, new objects, lettering or people.
Preview the whole candidate. If the page changes, the lamp bends or the motion distracts from the words, simplify the request or keep a still. Download only a version you want to use. A five-second source does not become a longer clip merely because the recording lasts longer; the next step supplies the rest of the picture track.
Put your voice and picture together in Clipchamp
Clipchamp is a separate editor with its own access conditions and may require sign-in. The free, no-signup description above applies only to OpenMaker’s generation step. You can use an existing editor instead if it already lets you combine your own audio, stills and video.
Microsoft documents importing audio into Clipchamp. For an audio-led version:
Start a video project. Use My media → Import media to bring in your owned audio, downloaded visual and clean still image.
Add the recording to the timeline at the beginning, retaining the words you want. Put the visual above it, also starting at the beginning.
Listen for any unwanted sound in the imported video. Mute that video’s audio if necessary so it does not compete with your recording.
Fill the remaining picture duration with your still, another instance of the video from the media library, or a combination. Adjust the still’s duration and trim any final video segment so the pictures end with the recording. Leave no empty section before the last word.
The simplest arrangement is one short motion section followed by a still held for the rest. An ending still that matches the motion’s final view can help with the first join. If you repeat the video, inspect the restart: a repeated shot is not automatically a seamless loop.
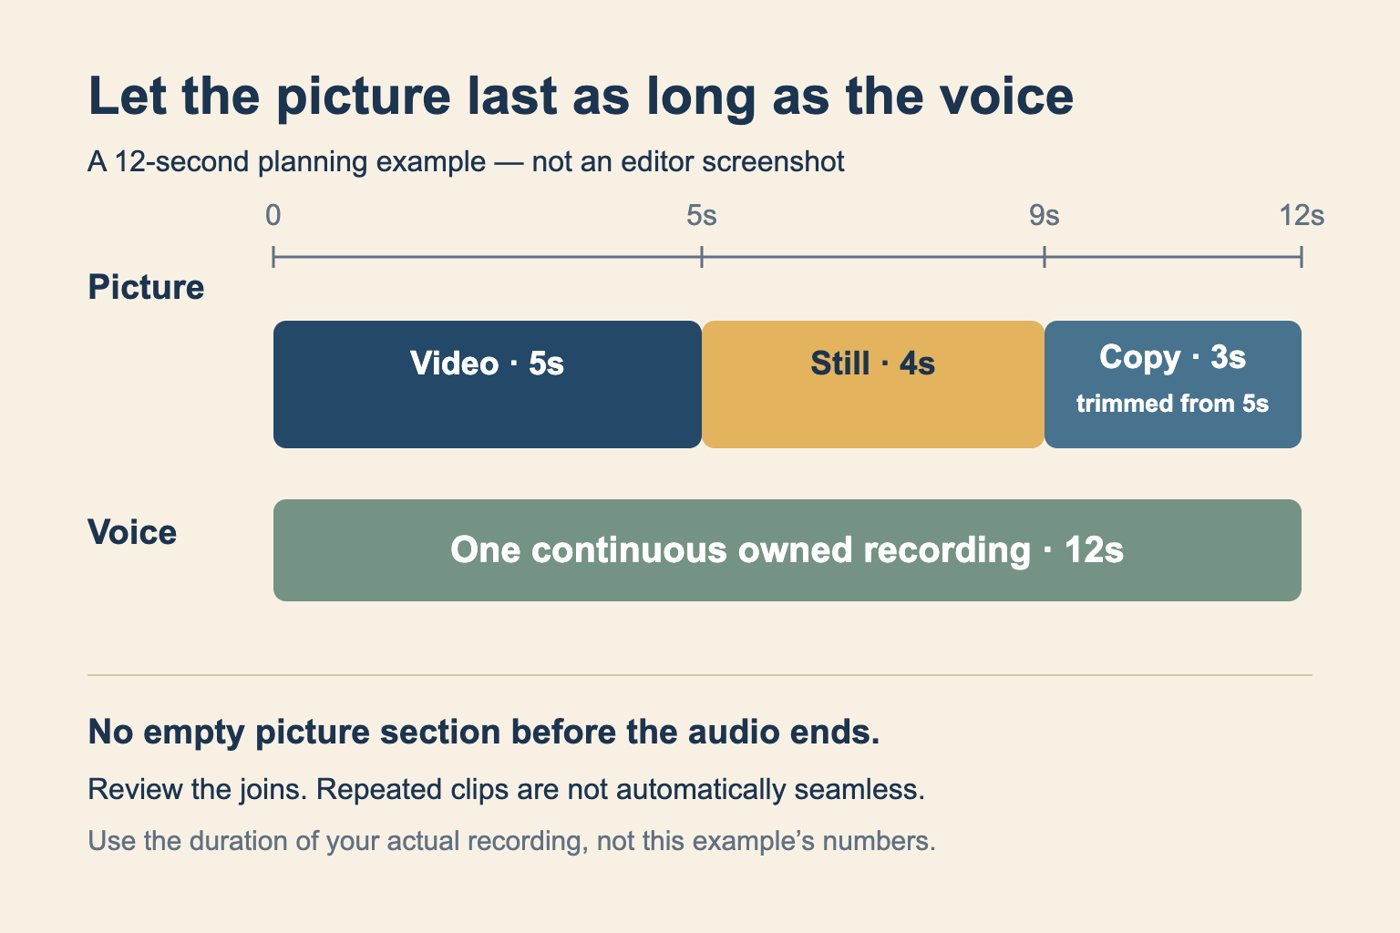
A hypothetical duration plan:5+4+3=12 seconds. Use your actual audio duration and review every join; this is not a Clipchamp screenshot or a tested export.
For a hypothetical 12-second recording, one possible arrangement is 5 seconds of video, 4 seconds of still and 3 seconds from another instance of the video, trimmed from its 5-second length. That is 12 seconds of edited picture, not a 12-second generation. If the later restart feels distracting, replace it with more still-image time. Use your recording’s real duration rather than these example numbers.
Add the words, then check the whole piece
Use the editor’s text tools to add a short title and a truthful voice/text credit. “One Light Still On” could be a title for the optional passage. Use your actual name or chosen public name for the credit. Add these as editable text; do not ask the image generator to render exact lettering.
Microsoft’s timeline guide explains how to preview assets and combine text, pictures and audio. Play your entire arrangement with sound. Check that the first word is present, every picture join is intentional, text is readable, and the last word has not been cut off. Check the end too: no unnecessary black or silent tail.
Choose Export, use an option available to your account and save the finished video. A larger export setting does not restore detail absent from a 480p source. Open the saved file and watch it once from beginning to end before sharing; keep the editing project and original recording if you want to revise it later.
Your voice can remain the centre of the piece. The moving stage just gives someone a picture to sit with while they listen.


Join the conversation
Discussion0
Join the conversation. Sign in to leave a response or reply to comments.