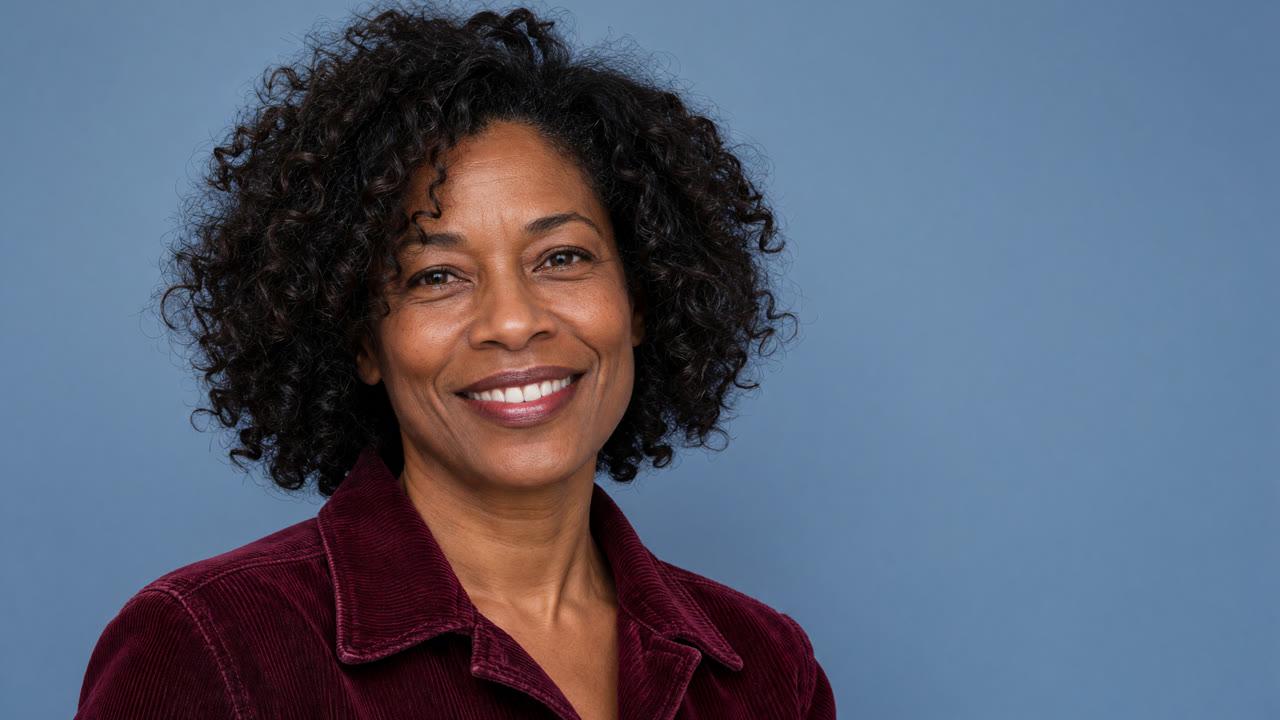
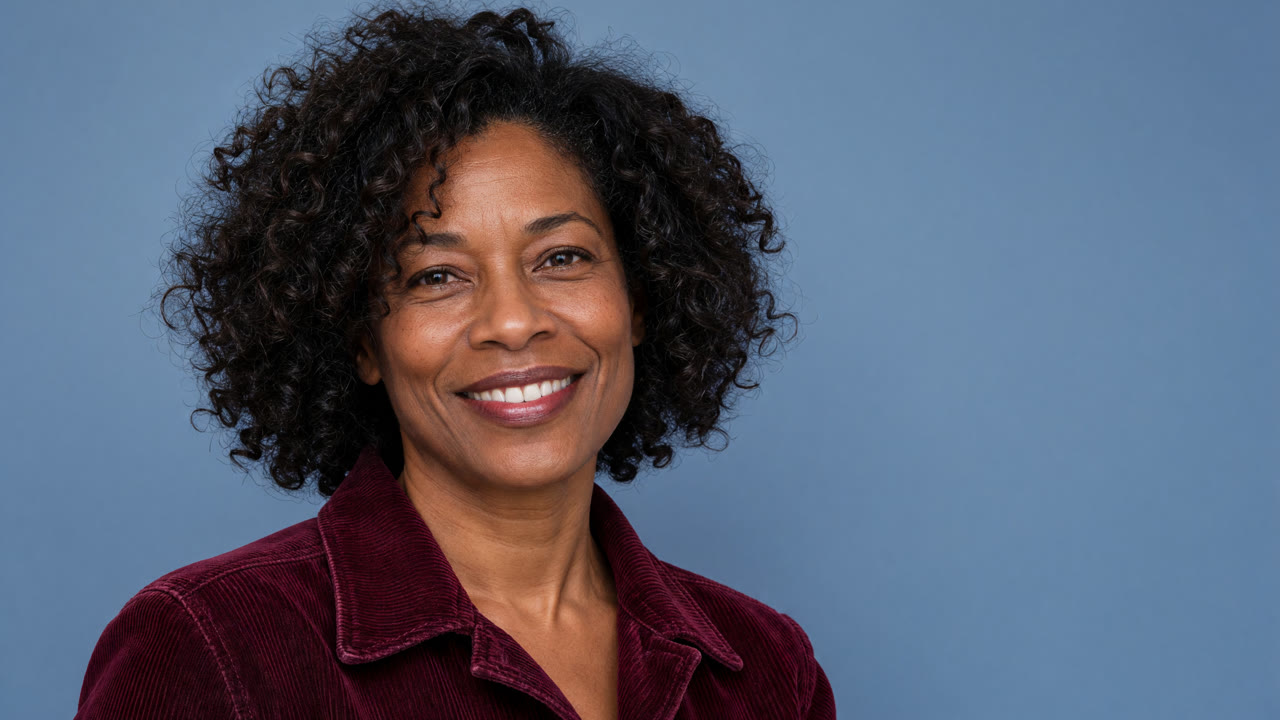
I liked how relaxed her smile looked against the dusty blue. The burgundy jacket gave the portrait a little warmth, and at full size I was happy with how it all sat together.
When I looked at a smaller preview, my eye kept drifting to the right. A few cloudy swirls stood out more there than they had in the larger view. I wanted to soften those patches while keeping what I liked about the portrait, especially the loose curls and the stitching along the collar.
The details I wanted to keep
Before editing, I looked at where the portrait met the background. A few fine hairs rose above the crown, and several curls broke away from the main outline. The collar had its own small details. You could follow the stitching around the tip and see the raised ribs in the corduroy as they reached the seam. Those edges were good places to look after the edit because I knew what I liked about them in the original.
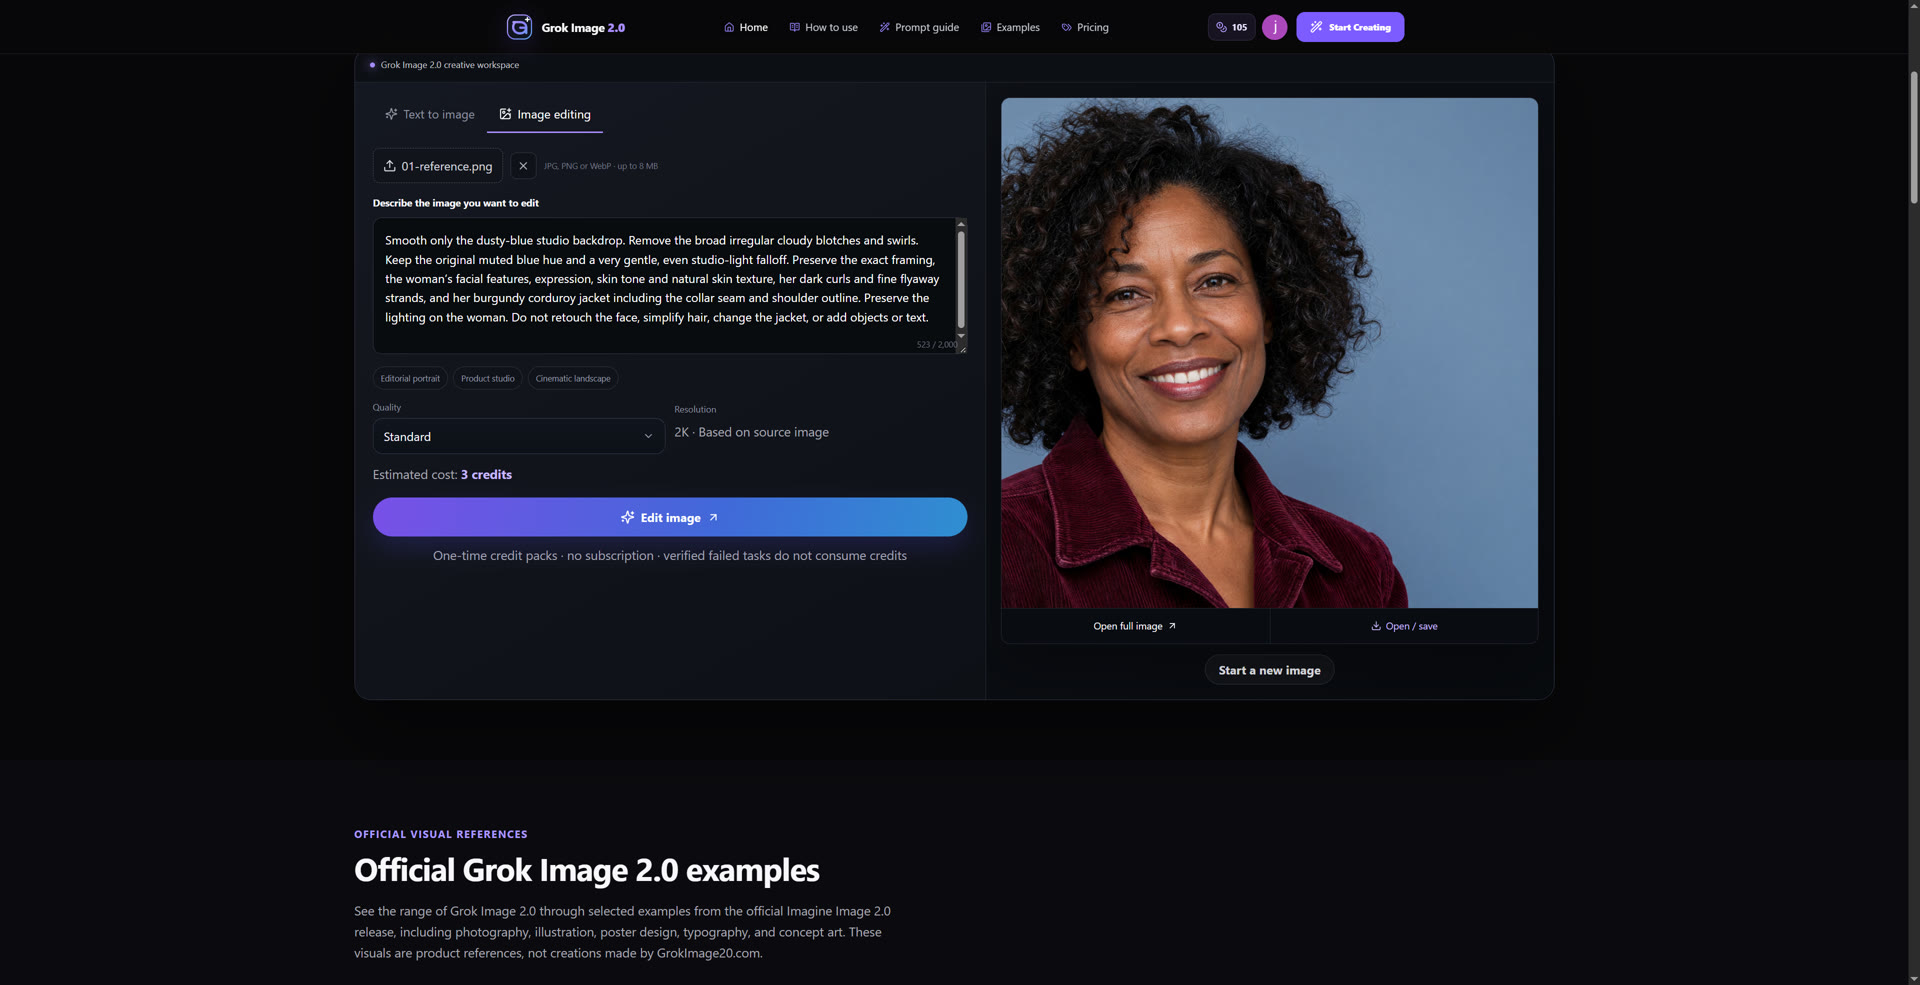
I opened the portrait in the image editor on Grok Image 2.0 and chose Standard quality. I described the change in terms of the backdrop, then named the features I wanted to keep. I included the light on her face as well as her expression, hair and clothing. Even a subtle change in the light could alter the feel of the portrait. The workspace showed 2K based on the source image, and I downloaded the result at 2720 × 1536.
I used the original as my point of comparison so I could judge the new backdrop against the same expression, jacket and lighting. Here is the instruction I used.
Smooth only the dusty-blue studio backdrop. Remove the broad irregular cloudy blotches and swirls. Keep the original muted blue hue and a very gentle, even studio-light falloff. Preserve the exact framing, the woman’s facial features, expression, skin tone and natural skin texture, her dark curls and fine flyaway strands, and her burgundy corduroy jacket including the collar seam and shoulder outline. Preserve the lighting on the woman. Do not retouch the face, simplify hair, change the jacket, or add objects or text.
I looked at the empty space first
The first thing I looked for was the pale curl of blue halfway down the right side. In the original it stood out from the darker patch underneath. In the edit those shapes were much harder to pick out, and I could still see a soft change in tone across the blue. Then I looked just above her head, where a few fine strands still showed against the backdrop. Lower down, I could follow the seam around the pointed collar and see the corduroy ribs running toward it.
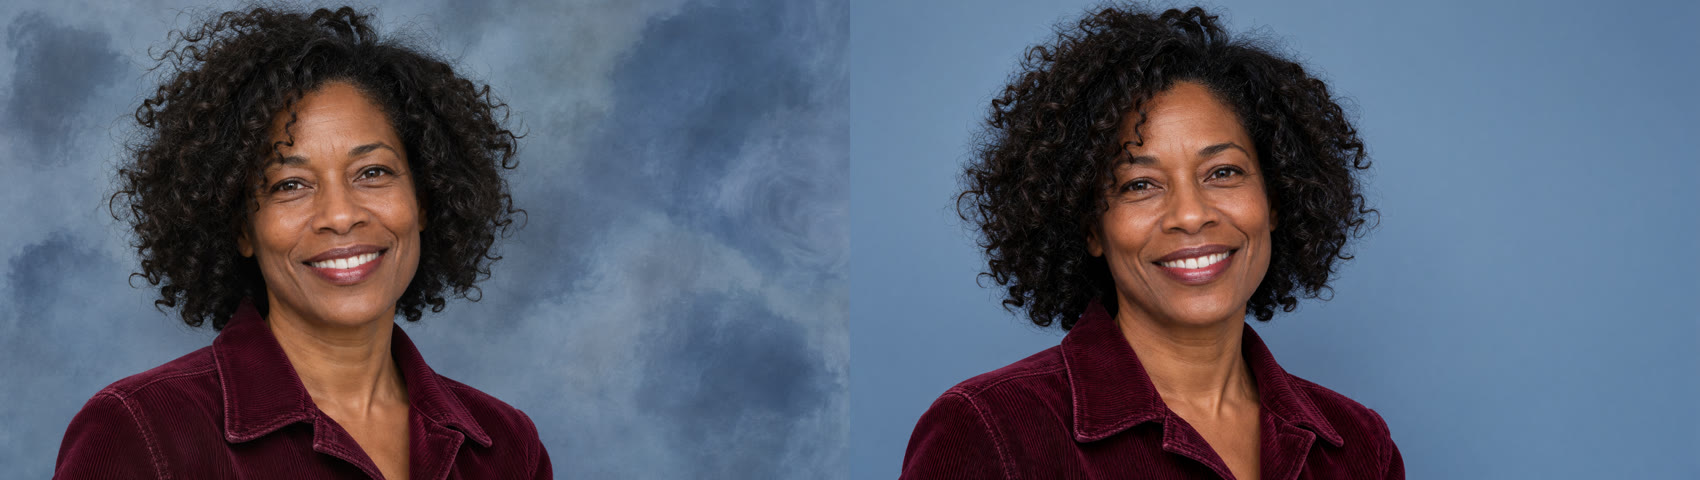
I kept both versions at the same display width because the download has more pixels than the source. At 100 percent in separate viewers, the edited face can look bigger simply because its file is bigger. With the two portraits lined up in the preview, I could move my eye between the same curls and the same collar tip. The expression and jacket outline looked close to the original. The seam was still readable in both. The picture also kept enough shading near the shoulder for the burgundy to separate from the blue.
The preview was enough to tell me the portrait still read the way I wanted. It was too small to judge every strand or any subtle change in skin texture. If I needed a tight crop or a print, I would open each file at its native size and check the edge above the crown and the skin beside the hairline. A pale fringe can be easy to miss at preview size, particularly where the original lighting already catches a few strands.
Where I stopped
At the reduced preview size, I found myself looking at her smile first. The background still felt like part of the photograph, and the burgundy collar still had the texture I liked. That was enough for this edit. I had a version where the empty space could stay in the frame without pulling as much attention as it had before.
Cropping was another way to deal with the right-hand patches. For a small square profile image, I might let the crop do that work. With this wider portrait, taking away the right side would also take away some of the room around her. I preferred to keep that part of the composition and soften the backdrop within it. I would save any tighter crop separately, so the same portrait could still be used in a wider layout later.
If I had found one obvious patch left in the upper right, I would have asked for a correction in that part of the backdrop. A change at the hairline would have led me back to the original first. Some of the brightest strands already catch the light, and comparing them with the source helps tell a natural rim from an edge introduced by editing. If another pass were needed, I would keep it as narrow as the remaining issue, especially if the result was destined for print.
I would keep the edited file for the wider layout and the source alongside it. That gives me a way back to the original texture if I later decide the blue needs a little more character, or if a different crop changes which parts of the backdrop are visible.
Join the conversation
Discussion0
Join the conversation. Sign in to leave a response or reply to comments.